Enter your personal information, use the same email address that you provided us.
On the enter your address screen, you can enter your personal address, or the address of the controller location.
On the Enable Free Services page, scroll down and select, Centralus.
Complete the Captcha and then click, Create New Account.
Step 3: Log In to Hunter Centralus System
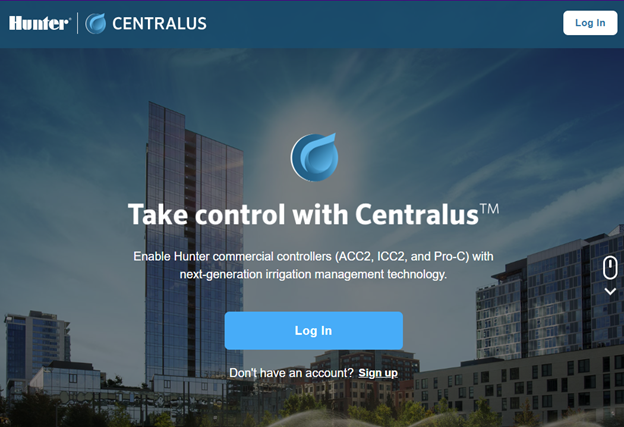
After you have completed the account creation, you will be sent to the login screen.
Enter your email address and password.
Click “Log In” to access your account.
Step 4: Explore the Dashboard
Once logged in, under Enrolled Services, Click Centralus.
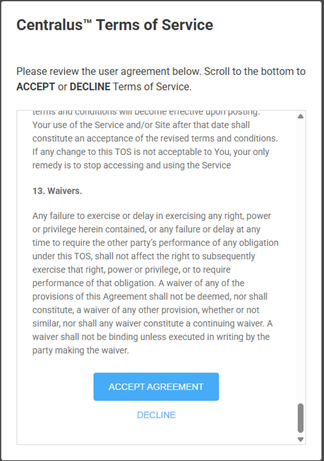
On the Terms Of Service, Scroll down and click Accept Agreement.
After accepting, you will be see the Welcome to Centralus page.
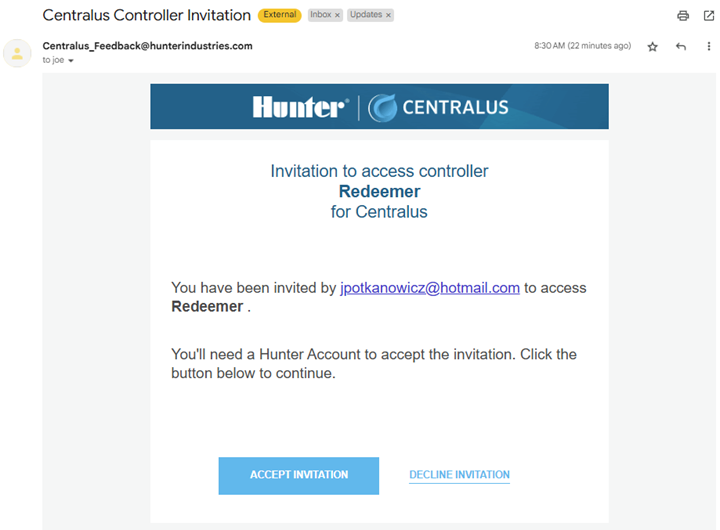
Step 5: Accept the Invitation In Your Email
You should have received an email from Centralus with the subject, “Centralus Controller Invitation”
Click Accept Invitation.
After clicking accept, the controller will be automatically added to your account, and you will see it listed on the left side of the screen.
Step 6: Begin Using the Hunter Centralus System
Start exploring the various functions of the system.
Please note, giving you access to the controller is a privilege. We can see everything that you change and if we run into an issue where you are prohibiting our irrigation technicians from doing their job effectively, we reserve the right to remove your access from the controller at any time.
If you do not know what you are changing, do not change it 😊